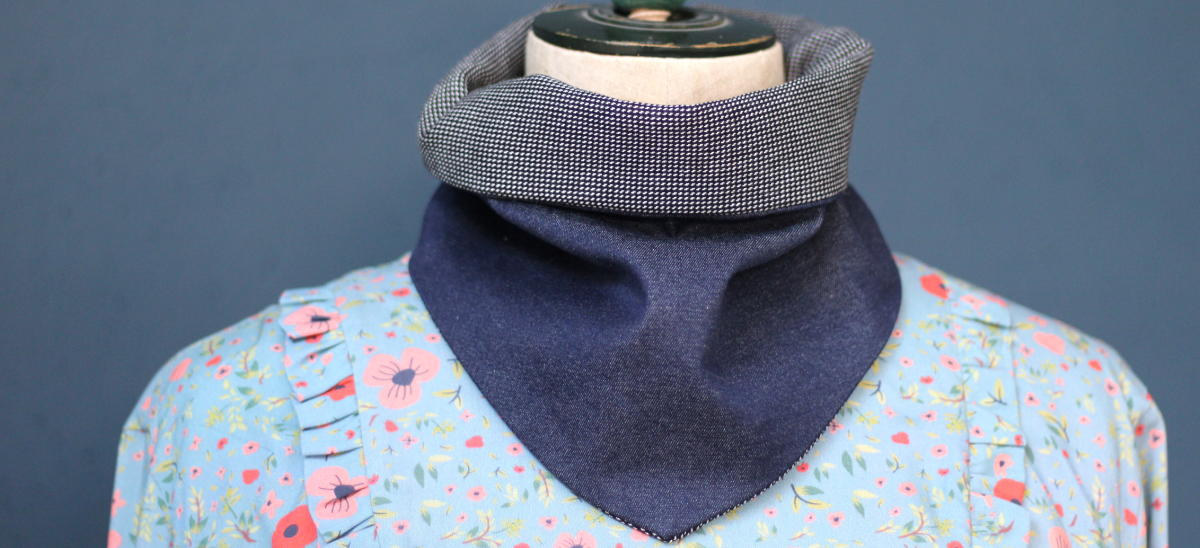
DIY the stand-up collar
The stand-up collar: a more sober and elegant alternative to the snood that attaches with snap buttons. Perfect to cover yourself when you go outside. Here's how to sew this little accessory ...

Material:
- 2 fabric cloths of your choice 50x30cm
- Bias binding or braid trim 48cm
- 2 snap buttons
- Scheme to download here
Step 1 : cut the shapes
Cut out each side of your collar using the scheme to transfer the design to the fabric.

Step 2: the flaps
Cut your ribbon (bias binding 27mm or velvet braid trim) in two. Fold each piece in 2 right sides together and close with a straight seam.

Turn the loop over and sew one of the long edges.

Step 3: Assemble the sides
Place the flaps on each side at 2cm from the top of the collar then place the other side right side together


Sew the edges, leaving a small opening to be able to turn the collar over.


Step 4: snap buttons
All you have to do is place your 2 snap buttons on the flaps and you're done!

See you soon,
L.

