tutorial - Sew Christmas figures
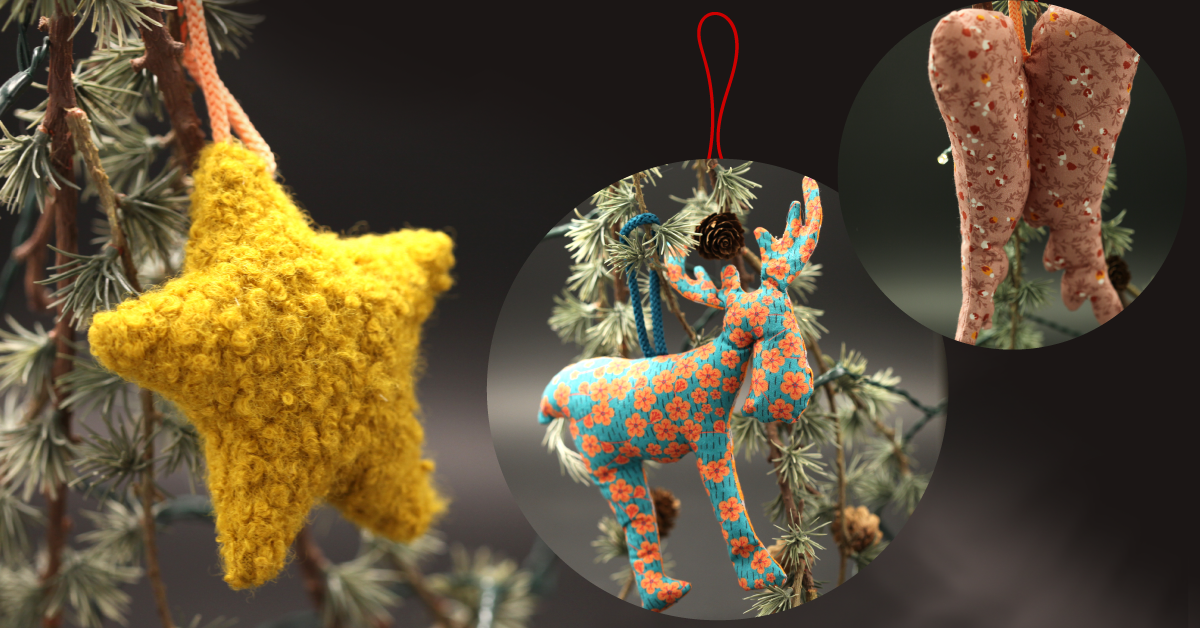
Let's start Christmas decoration? There are those who just hang the Christmas balls on the tree ... And there are those who add pretty handmade Christmas figures. This year I made a trio of figures to hang: the moose, the star and the wings! Santa Clause Léa gives you the pattern and the tutorial:

TO MAKE YOUR CHRISTMAS FIGURES TO HANG:
Time to use up your fabric scraps! My figures are in wool or cotton and have a height of +/- 15cm.
- for the moose: 2 fabric cloths of 23x23cm
- for the star: 2 fabric cloths of 15x15cm
- for the wings: 2 fabric cloths of 25x20cm
- filling: wadding or a ball of very thinly cut fabric strips
- Scissors
- Template to download here >
STEP 1 : CUT THE SHAPES
Print out the pattern and cut out the shapes of your Christmas figures. Here I will show you how I sew the moose. The method is the same for each shape.

STEP 2 : SEW YOUR CHRISTMAS FIGURE
Rather than transport, trace and cut the pattern on the fabric I found it easier to sew directly following my shape as a guide. So place your two fabric cloths right sides together and pin your shape on top.

Add a piece of braid trim as loop between the two fabrics which will be used to hang your figure once the piece is finished.

(I mark the spot of the hook loop)

(I place my loop between my 2 fabrics)

(my piece is ready to be sewn)
Sew everything by following the shape with a straight stitch and leaving an opening of a few centimeters.

Remove the pattern and cut your piece at 0.5cm from the seam. Notch the round edges to facilitate putting it together once the piece is turned over.

Turn the piece over, fill your figure and then close the piece with a blind point. Ho ho ho… your Christmas figures are ready to decorate the tree!

See you soon,
L.


Marie - 12/17/2023 16:46:45
Voici une idée pour varier les formes. Moi, j'ai créé des cœurs en tissu pour pendre au sapin. Toujours sympa, un sapin personnalisé et unique, du coup. Aussi chouette comme cadeau pour quelqu'un de spécial.