DIY the beach tote bag
A bag that should ring a bell if you came to see us at the fair. You admired it ... and now I suggest you make it! Here is the tutorial of a new version for a beach bag like a tote bag. It is practical to slip your belongings and lined to make it very resistant. Let's add a pocket and fantasy ribbons to make it original ;-)
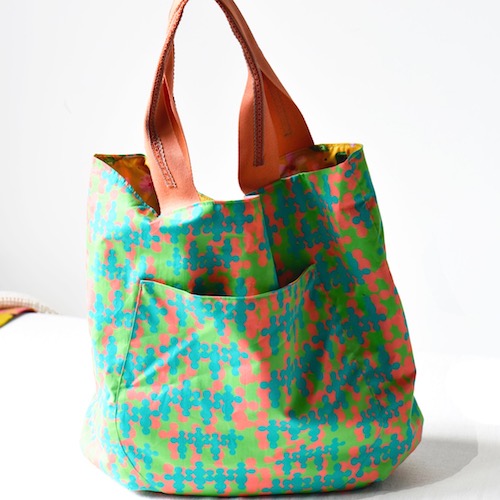
Material
to make your beach bag:
- 2 cloths of 50x50cm for the visible exterior (the bag)
I chose a cotton among the pretty patterns in summer colors of the collection By Léa >
- 2 cloths of 50x50cm for the interior of the bag (lining)
I chose a coordinated cotton also from cretonne collection by Léa >
- 120cm strap for the handles
- 50cm braid trim / fantasy ribbon > to customize your strap
- Sewing machine
- The pattern
To download here in A4 format >
Step 1 : Cut the parts of the bag
Print your pattern and assemble the 4 A4 pages to recreate the front of your bag. Transfer the shapes to the fabrics at the folds and cut out the elements.

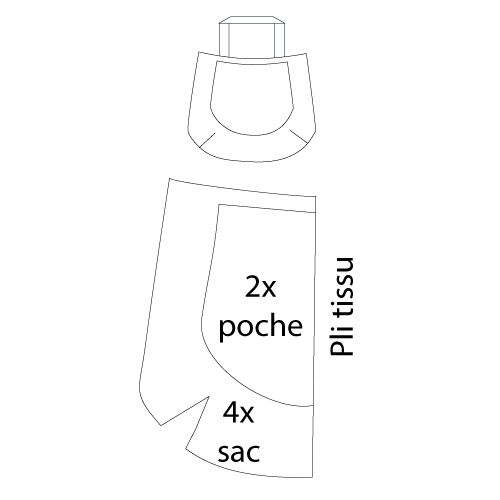
You have now :
- 2 shapes in the fabric for the exterior
- 2 shapes in the lining
- 2 shapes for the pocket (in the fabric of your choice)
Step 2 : the pocket of the bag
Superimpose right sides together the 2 "pocket" shapes and sew around the circumference, leaving the top free. Notch the rounds and turn over. Mark with an iron. Close the top 0.5cm from the edge.
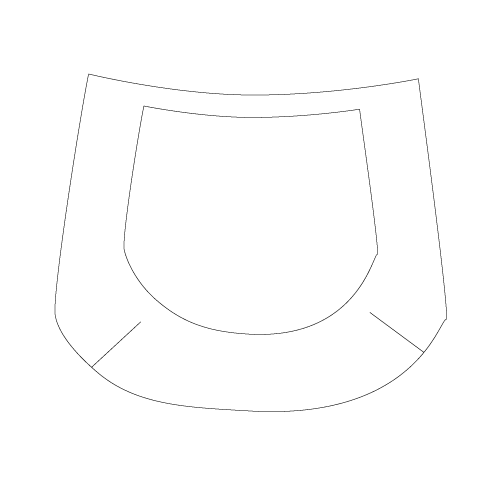

Pin the pocket to one of the sides for the exterior of the bag a few centimeters from the top. Sew the edges, trying to match the pattern.

option: before sewing the pocket on the bag, you can add a fantasy haberdashery (here a pompom braid trim).

Step 3 : the darts of the bag
Start by sewing the 2 darts on each side (outside + lining) right sides together.

Step 4 : the handles of the beach bag
Cut the piece of strap into two equal parts then stitch the braid trim in the center of the strap.

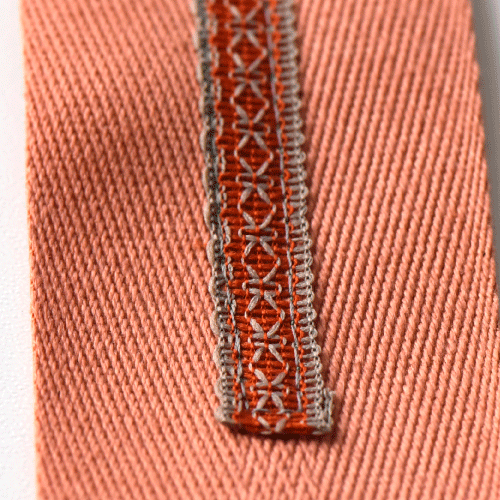
Fold the strap as in the diagram and place it on the right side on one side for the exterior. The recommended distance between the straps is 13cm. Pin the strap where the red dots are.
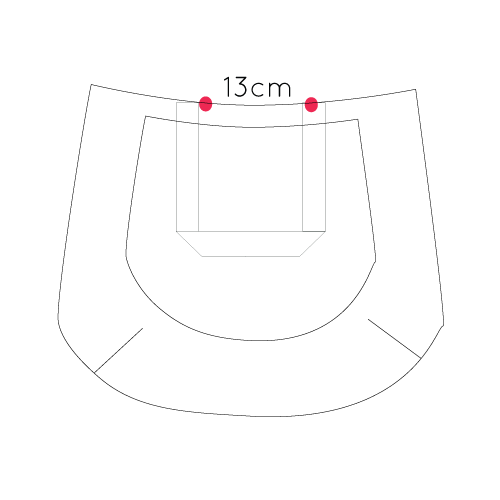
Repeat on the other side of the bag.

Pin them on each side of the exterior of the bag, well centered. You can make a stitch to keep them in place before the next step, but it is not mandatory ...
Step 4 : assemble the sides
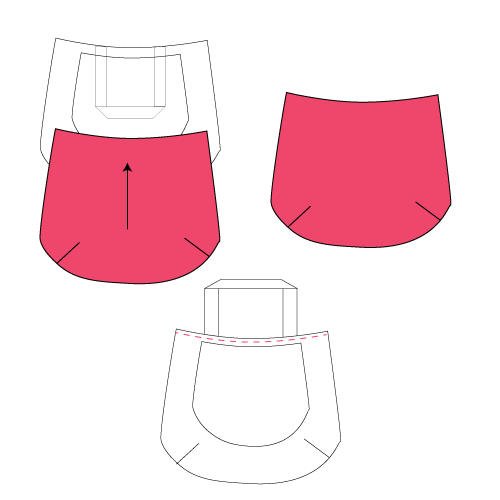
Now superimpose the 2 sides right side up. Pin and sew the rounded edge. Turn over: the outside of the bag is ready.
Repeat the step to assemble the lining by sewing all the way around but leaving an opening of 10cm at the bottom (in order to turn your bag over in the last step).
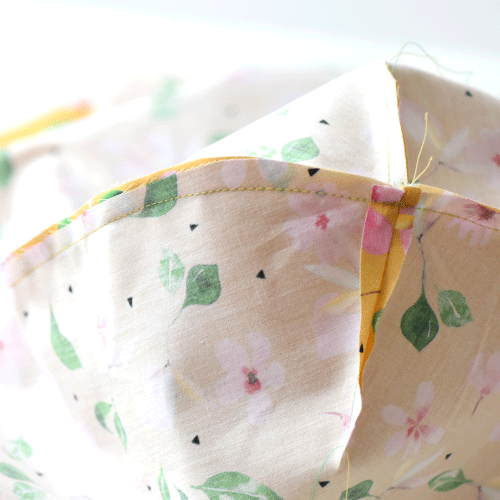
Step 5 : Lining your tote bag
Tuck the bag inside the lining right sides together. Adjust the side seams and pin it.

Sew around 1cm from the edge and turn the piece over through the opening left in the lining.

Then close it again.

Flatten the seams, mark with an iron and reinforce your bag with a new seam around the edge.
And here's the work :-) Your beach bag is ready to be used !


See you soon, L.


Tobiassew - 04/01/2023 01:23:46
interesting post