DIY the square scarf
This week I suggest you make THE square scarf ... An essential fashion accessory. You will see, it is a rather simple and quick sewing exercise! So I made several of them to be able to match them with my favorite outfits. It is also a "handmade" gift that will always make someone happy...
MATERIAL :
To make your scarf, you will need :
- 4 pieces of fabric with dimensions of +/- 65X65 cm
For the choice of materials, you can use crepe, viscose, veil, cotton veil or even muslin fabrics ... For this scarf I have chosen to mix colors & patterns, but the combinations are endless according to your desires!
- 140cm braid trim
Step 1 : Assemble the panels
Cut out your 4 pieces of fabric of 65 X 65 cm. Also prepare a piece of braid trim of 140 cm.
Take two pieces that you will superimpose right sides together. Then pin them on only one side. Sew a seam: you have the choice between the serger or the zig zag stitch with the sewing machine. Repeat the step with the other two pieces of fabric.

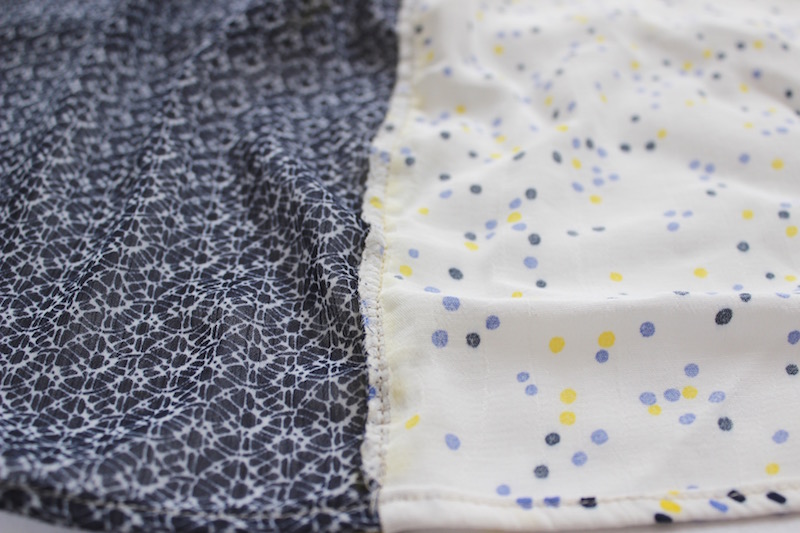
You have now two pieces of +/- 65cm by 130cm. Gather them by proceeding in the same way: pin right sides together on one of the long side and sew. Be careful to pay attention to the central connection, it will be prettier.

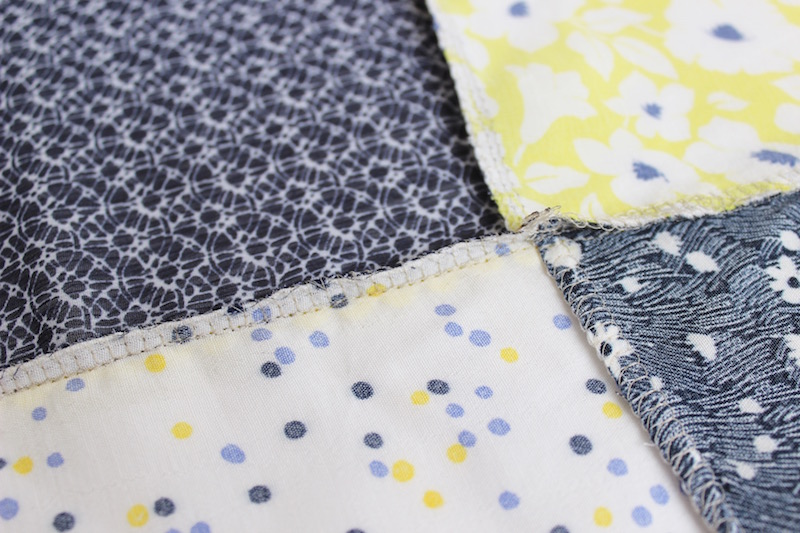
Step 2 : place the braid trim
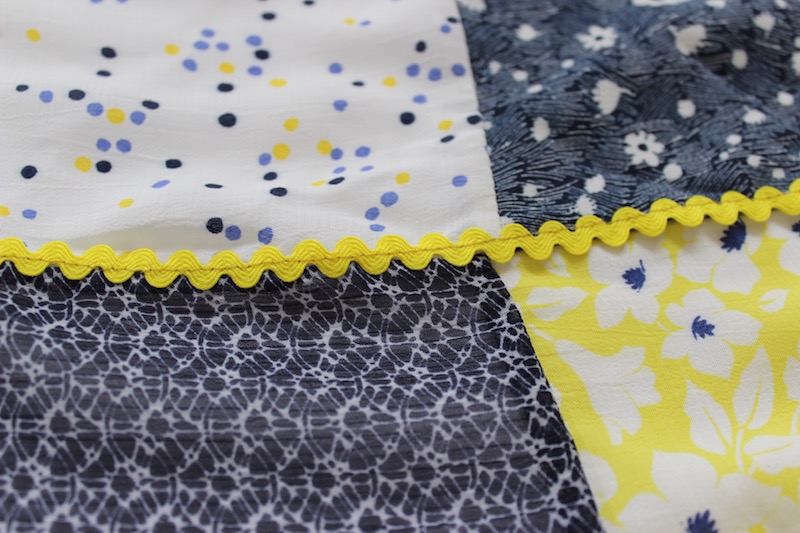
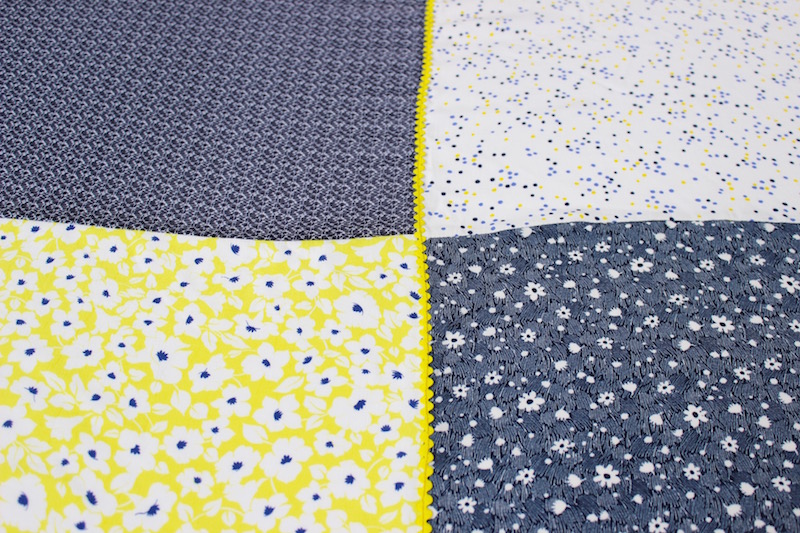
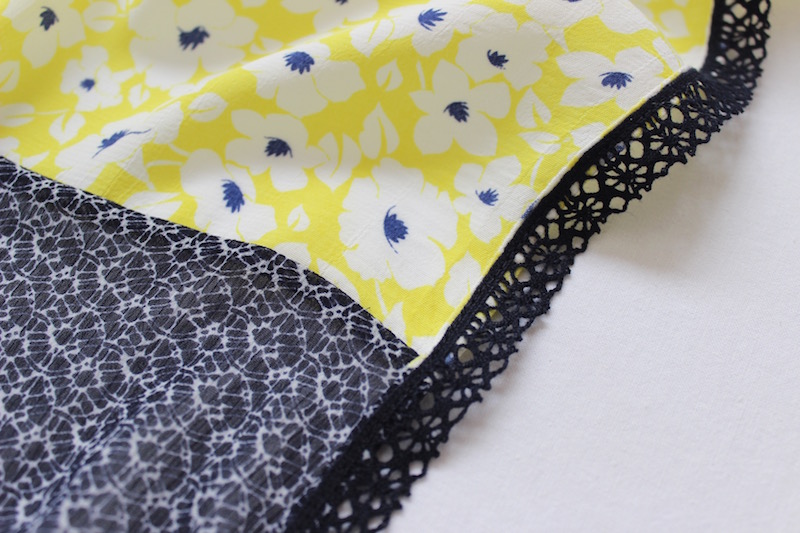
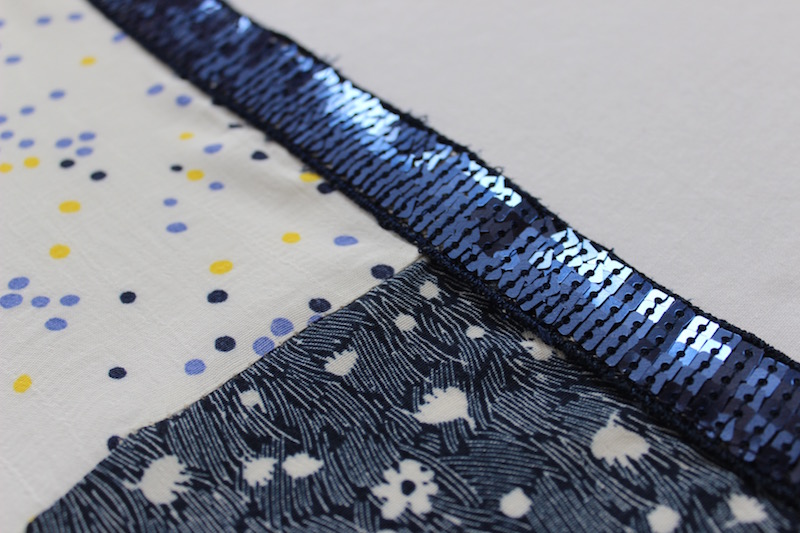
Fully open your scarf and arrange your braid trim in parallel lines along the length of one of the two central seams and on the sides. If you only want one braid trim, only place it on the central part and you will hem all 4 sides. Pin and sew.

Step 3 : Finishing touches of the edges
If necessary you can cut the sides of the scarf again, if you want a perfect square or a rectangle. Make a hem on the last 2 sides: fold the edges over at 1.5cm, pin and sew...

Your scarf is done !

Tip: how to wear the square scarf ?
Fold the scarf in half to form a triangle. Pick up the sides before placing it on your chest and then tie the ends around your neck.
See you soon,
Léa

