The Lily T-shirt
I introduce you "Lily"! A loose and smooth t-shirt that is nice to wear and quite easy to make! Not bad right? I got inspired on Pinterest to then design a pattern myself. Here is the tutorial...

Material
To sew your t-shirt :
Attention : the measurements below are for a size 40 or 42. Be sure to adjust to your size by changing the width of the pattern.
Extensible and light, it's the perfect material to make a t-shirt. With 120cm of jersey (140cm width), I was able to cut out all the parts of my t-shirt:
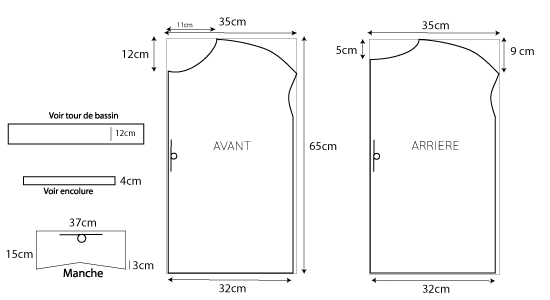
#1. two pieces of 70 X 65 cm for the torso
#2. two pieces of 30 X 37 cm for the sleeves
#3. one piece for the collar
#4. one piece for the bottom
Cutting Plan
Transfer the parts of this diagram to a pattern paper:

Step 1 : the torso


Step 2 : the sleeves

Step 3 : the seams of the the sleeves


Step 4 : neckline
Start by measuring around your neckline. I got 70cm.

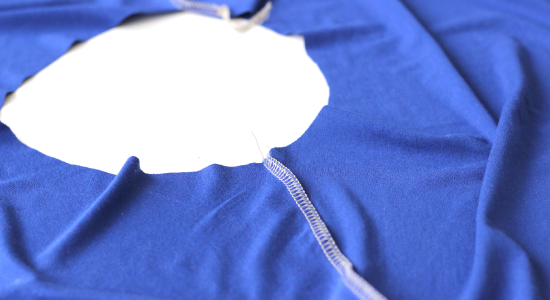
Then cut your piece #3 (Length = 70cm) in the oblique of the fabric and sew the two ends to obtain a loop. Fold it in half lengthwise, wrong side together and pin the collar to the right side of the shirt (fold down).

Overstitch and then press to flatten the seam. Finish with a straight stitch just below the fold so the collar will fit properly.

Step 5 : finishing the bottom
Measure your pelvis and take off 10cm. You will obtain the length of your belt #4 to cut on a height of 10 to 15cm. Close the belt to obtain a loop and fold it in 2 lengthwise, wrong sides together. You will do the same step as the neckline step with one difference: the body of your t-shirt is wider than your band ;-)

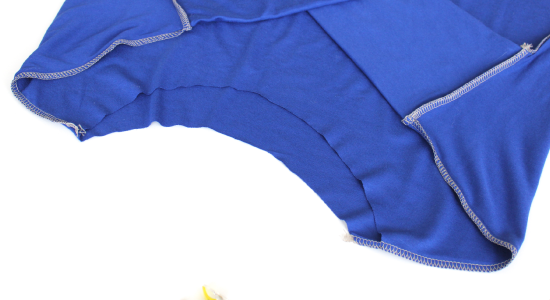
Take the piece right sides together, seam to seam (seams should meet). Pin on one side, then the other, then the center. This will make it easier to adjust the rest.
Overlock the bottom, starting with the strap to be stretched under your shirt. Press the seams down... Your t-shirt is finished!

All you have to do is put it on and enjoy the summer :-)


