Tutorial - the bowling bag
Leaving for the weekend? A trip? Back to doing sports? Don't leave without your bag... I present to you my version of the famous bowling bag! Also called "weekend bag", it has a rounded shape with two handles and a zipper. Very practical for storing your clothes, sports gear, sewing equipment,... Here are two versions, small or large format:
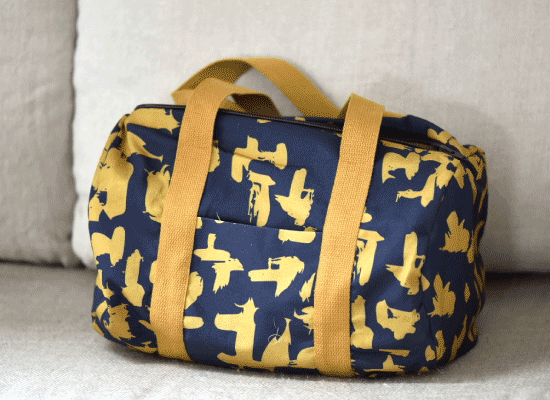
Material
bowling bag - XL format :
- 1 fabric cloth of 45x88cm for the exterior
- 2 fabric cloths with a diameter of 28cm for the exterior sides
- 2 fabric cloths of 16x75cm for the pocket
- 1 fabric cloth of 48x88cm for the interior
- 2 fabric cloths with a diameter of 28cm for the interior sides
- 1 zipper of 45cm
- 2,60m of strap
bowling bag - small format :
- 1 fabric cloth of 35x72cm for the exterior
- 2 fabric cloths with a diameter of 23cm for the exterior sides
- 2 fabric cloths of 16x46cm for the pocket
- 1 fabric cloth of 35x72cm for the interior
- 2 fabric cloths with a diameter of 23cm for the interior sides
- 1 zipper of 35cm
- 2,10m of strap
Choose a quite solid fabric terials. I chose an upholstery cotton fabric from the exclusieve collection By Léa.
Diagram

Step 1 : the pocket and the strap
Make the pocket: overlap the two pieces of fabric right sides together and sew a straight stitch around the edge, leaving a space of 10cm to turn it over. Turn over, close and place the pocket in the center of the fabric for the exterior as shown in the diagram above.
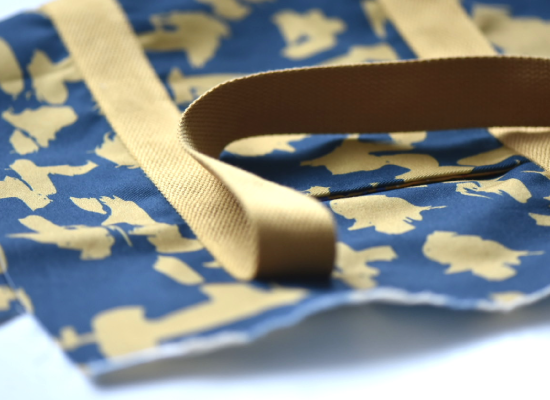
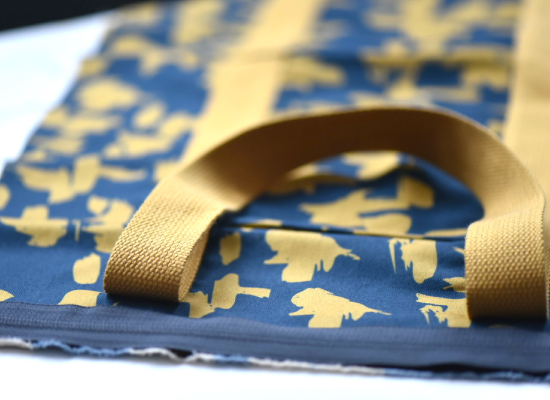
Take the strap and sew it so that it forms a loop. Fix it on the fabric for the exterior and the pocket with a space of 13cm to pass the arm easily (diagram). Sew the strap around the edge, leaving 5 cm open at the top. Make a small reinforcement to make your bag strong.
Step 2 : Place the zipper
For more aesthetics, make and sew two small tabs on either side of the zipper. Apply the zipper starting with the fabric for exterior.
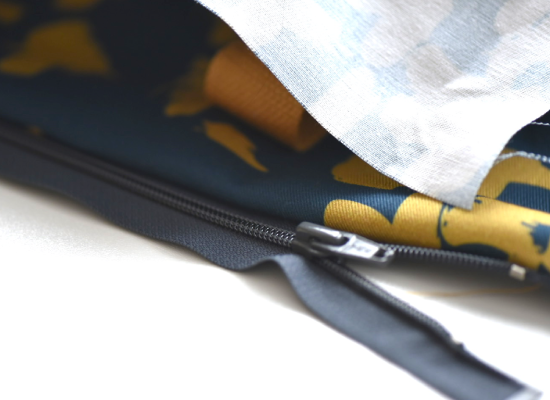
And then do the same with the lining fabric. Don't forget to use your zip presser foot on your sewing machine ;-)
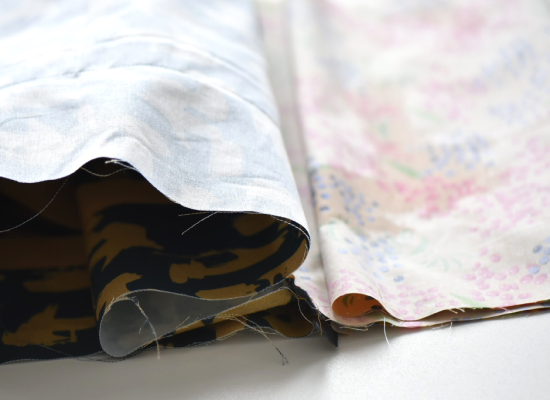
You have now the following :
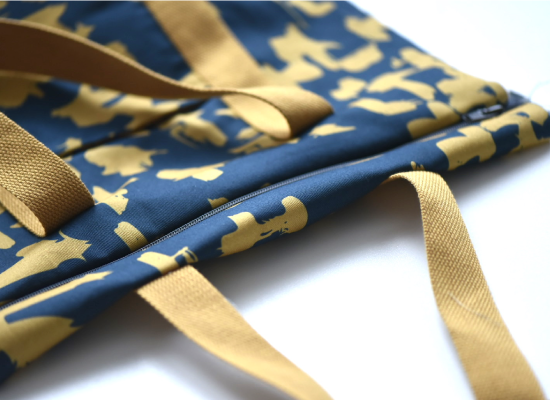
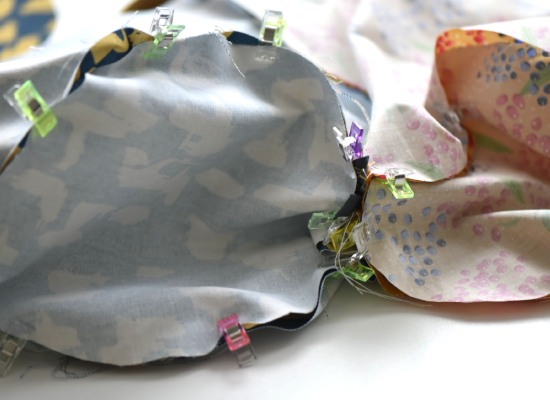
Step 3 : assemble the bag
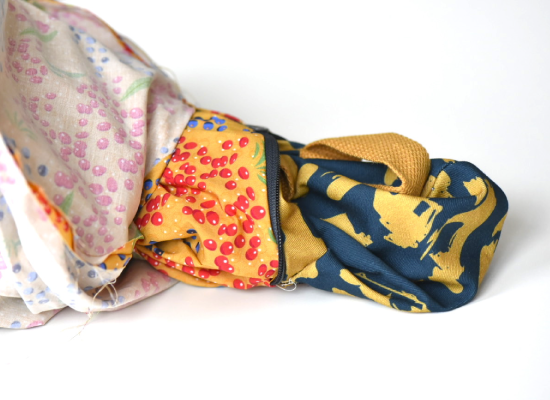
Congratulations, your bowling bag is ready !

See you soon,


Anne - 07/17/2023 22:23:43
Merci beaucoup, et pour la réponse, et pour vos tutos :)
Les Tissus du Chien Vert - 07/05/2023 08:43:30
Bonjour Anne, Pour la sangle, optez pour une largeur entre 30 et 50MM ;-) Ici il nous semble avoir utilisé la 40. Belle journée !
Anne - 07/04/2023 22:47:27
Bonjour, pourriez-vous préciser de quelle largeur est la sangle svp ? Merci !
Les Tissus du Chien Vert - 11/18/2022 14:26:55
Bonjour Alice, il fait 40cm de longueur ;-) Bonne couture !
Alice - 11/16/2022 22:11:37
Bonjour, quelles sont les dimensions du sac XL une fois fini s’il vous plaît ? Ce diy m’intéresse beaucoup, je pense le réaliser. Merci par avance
Les Tissus du Chien Vert - 08/23/2022 15:39:51
Bonjour Isabelle, Non vous avez raison il y a erreur de notre part : il faut bien 2 coupons de même taille (45X88cm). On va faire la modif ;-) Bonne couture !
isabelle - 08/23/2022 15:00:39
Bonjour, merci pour ce tutoriel! Je suis en train de prendre les mesures de mes tissus et doute: le tuto en XL propose deux tailles différentes de largeur pour le coupon principal (45x88 tissu extérieur et 48x88 tissu intérieur) ce qui n'est pas le cas des mesures pour le petit modèle. (intérieur et extérieur de même mesure) Est-ce normal?
Rose - 01/19/2022 10:58:19
Aaaaah super :-) je m'y mets ce weekend!