DIY - The Vanity case
Here is how to make a pretty "beauty case" type Vanity case to store your toiletries or make-up accessories. After having presented a few in stores to inspire our visitors, here is the tutorial to make yours as promised :-)
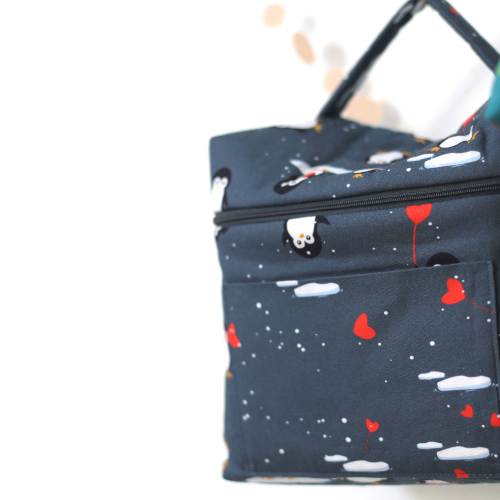
MATERIALS
For a finished case with the dimensions 25cm (L) x 20cm (H) x 12cm (W) you will need:
- 2 fabric cloths of 70x60cm
You are free to choose your fabrics for the exterior and interior of your case. I made mine with the collection By Léa in OEKO-TEX ® cotton.
- 1 or 2 cloths of 70x60cm iron on viseline H640
Depending on the thickness you want for your case, you can stiffen a single cotton cloth or both.
- 2 cloths of 16x11cm
Each corresponding to the exterior / interior cloth of your case.
- 1 fabric cloth of 30x10cm
it is for the handle of my case. It should match the outer fabric of your case.
Step 1 : making the pockets of your vanity case
Let's make the pockets first: sew the sides right sides together, leaving a small opening ... Turn it over and mark with an iron.

My two pockets (inside & outside) are ready. Each with a different pattern.
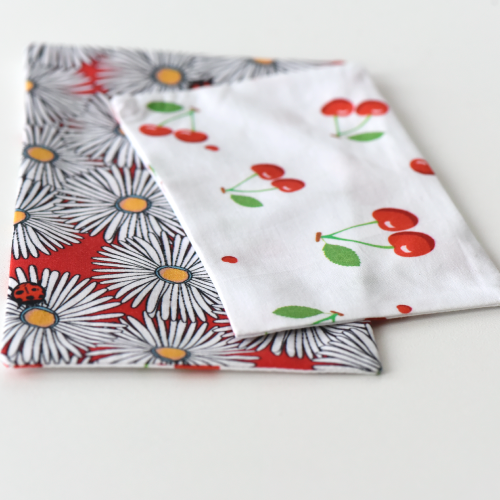
Then sew a pocket on each inside / outside side of the case as shown in the diagram. Pay close attention to the direction for the opening.

Step 2: stiffen your fabrics
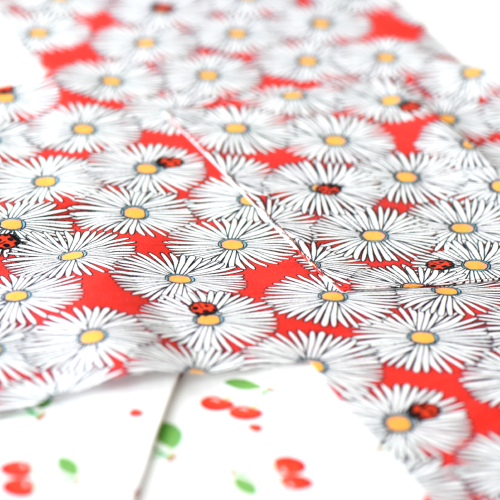
Attach the iron-on fleece to your cloth at the exterior face using your steam-free iron with a little steady pressure. If you want, you can repeat the operation on the inside. Your case will then be even softer.
Step 3: zipper and assembling the case
Place the zipper on the exterior front face (see diagram).

Then place it on the inside right side up.

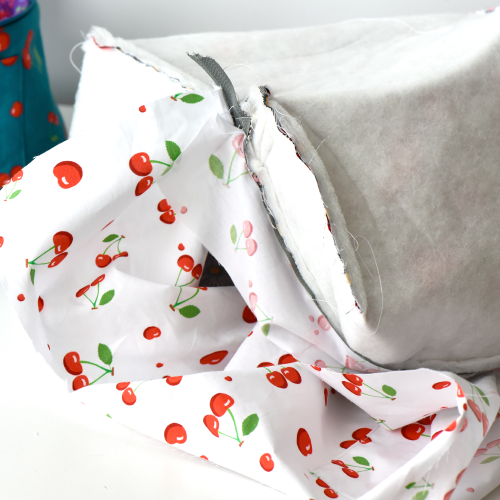
Shape and sew the corners of the exterior face as for a totebag. Repeat for the inside face. Warning: make sure to leave an opening on the inside to be able to turn your case over.


Step 4 : the handle
Prepare your handle: reinforce your cloth (same process as step 2) and then sew right sides together 1 long side and 1 short side (to be able to return it easily). I used a turning set to help me

Place your handle in the center on the top of the case. Sew a cross seam to reinforce both ends.
Your «beauty case» or «Vanity case» is ready !
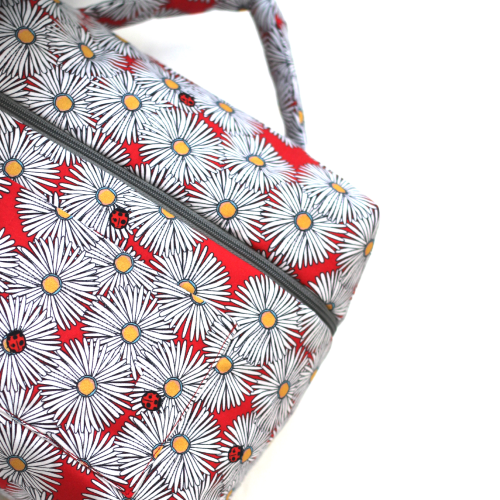
Let's make another one ? :-)
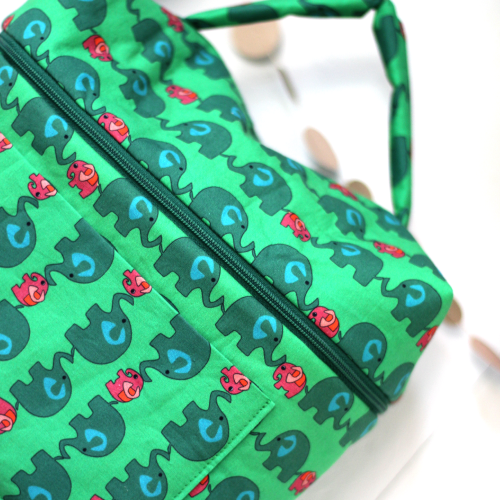
See you soon,
L.


Les Tissus du Chien Vert - 07/04/2024 08:42:28
Bonjour Christelle, C'est la technique du soufflet, vous pouvez regarder notre explicqtion + schéma dans le tuto du totebag doublé ;-) https://www.chienvert.com/fr/blog/diy-le-tote-bag-n34 Bonne couture !
Christelle - 07/03/2024 22:56:46
Bonjour, Je ne parviens pas à comprendre comment former et coudre lles angles de la trousse. Pouvez-Vous ajouter quelques explications ? Merci d’avance !
Les Tissus du Chien Vert - 04/18/2023 14:32:36
Bonjour Lolytu, Non non comme annoncé dans l'intro cette trousse mesure 25CM de longueur X 20CM de hauteur X 12CM de profondeur ;-) Bonne couture !
Lolytu - 04/13/2023 11:49:00
Bonjour, je suis un peu étonnée des dimensions hauteur et largeur, est-ce bien 12 cm de haut et 20 cm de profondeur ?
Van staen - 08/27/2022 18:28:33
Très jolis tissus