DIY the Easter bag in fabric
Easter without an egg hunt? Noooo! I thought about this basket... or rather this bunny-shaped bag :-) I'll show you how to sew this Easter bag to hold your children's little treasures...
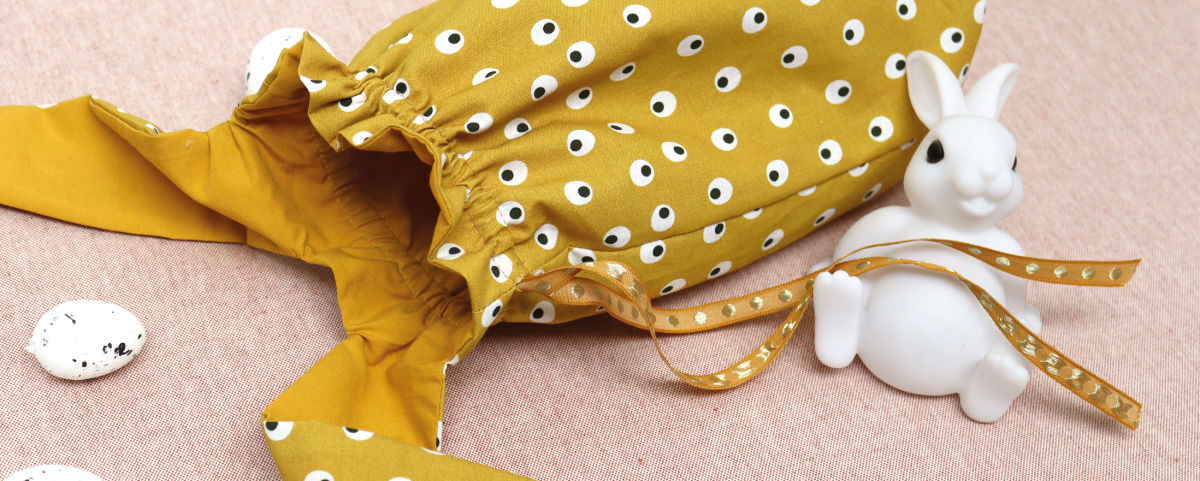
Material
- 2 pieces of fabric 55x60cm : 1X for the exterior and 1X for the lining. I used a cotton poplin fabric .
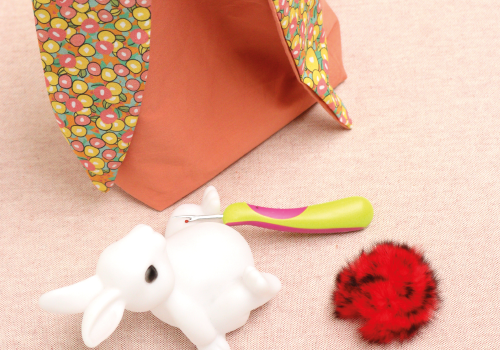
- 1 seam ripper
- pair of scissors
- 80cm fantasy ribbon and 1cm width. I used this coral jacquard ribbon.
- 1 pompom for the tail of the bunny
- 1 lace bodkin practical to pass the ribbon through
- The egg hunt sewing pattern
Step 1 : the body of the bag
Start by cutting out all the shapes. You get 4 pieces:
2 bodies with ears : 1 x in the fabric and 1 x in the lining.
2 bodies without ears : 1 x in the fabric and 1 x in the lining.
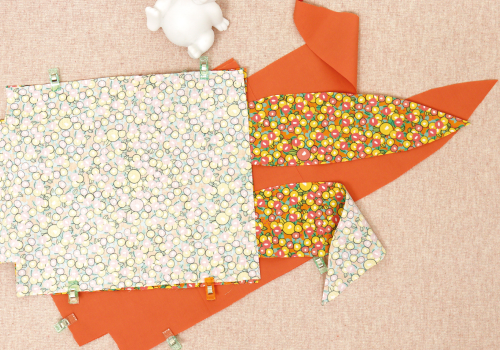
Sew each body (exterior and lining), fabrics right sides together. Caution only for the lining: leave a small opening of 5cm at the bottom to turn the bag inside out (to be assembled later).
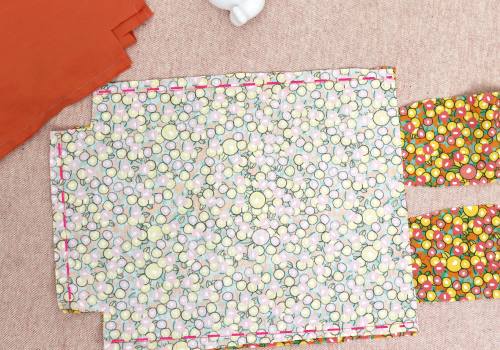
To give the bag depth, we make a gusset: pinch the corner to make the bottom seam coincide with the side seam.
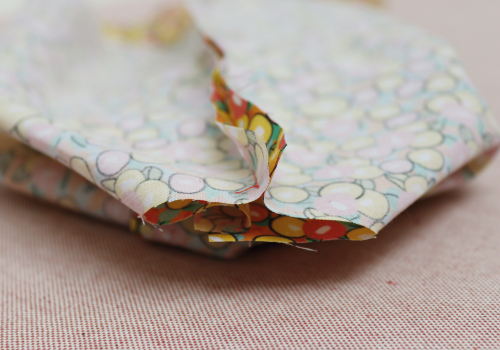
Piquez à 1cm. C'est fait!
Step 2 : assemble
Tuck the lining into the bag right sides together. Overlap the ears and sew around the edges.
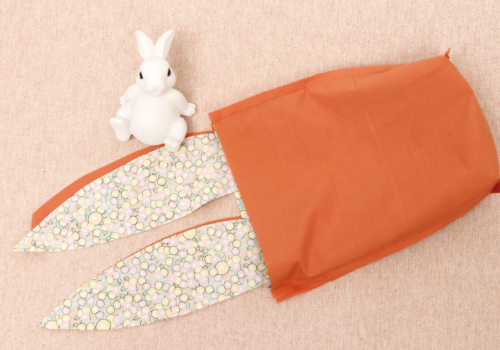
Use scissors to notch the rounded edges every 0.5cm for easier fitting and to avoid creases. Turn your bag inside out and take the iron.
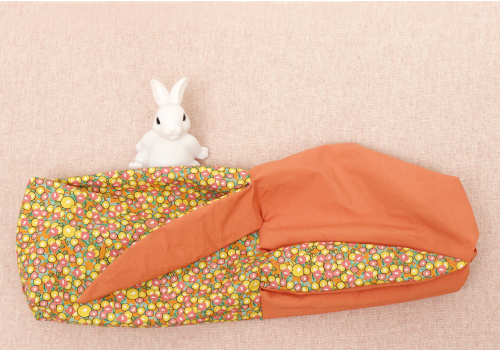
Step 3: the closure
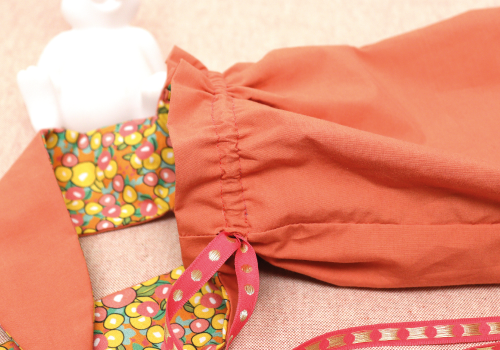
Draw 2 parallel lines 1cm apart at the top of the bag. Sew a straight seam along these 2 lines.
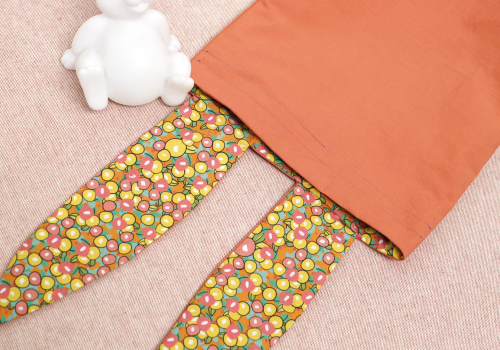
You'll get this :

Using a seam ripper, open at the stops between the 2 lines.
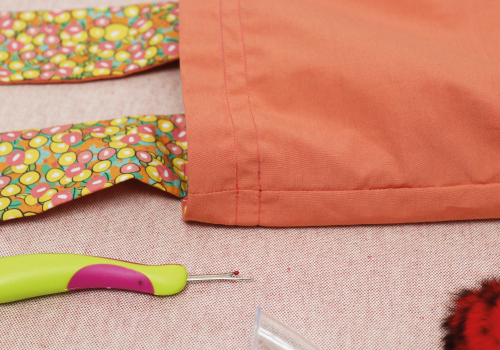
Thread your ribbon through the loop and close with a small bow. You can also use a cord lock.
Add a little fantasy: you can sew on a pompom to represent the rabbit's tail!
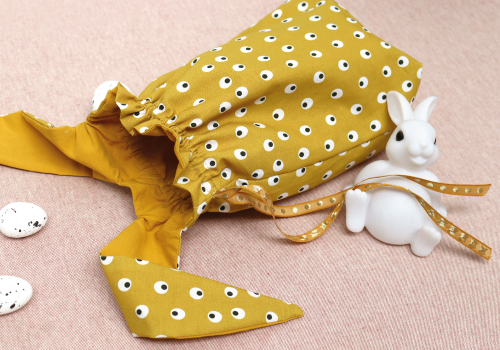
Ready ! Your children can go egg hunting :-)
See you soon,
Léa
