DIY - the beach tunic
Long live summer ☀ Here is a tutorial to sew this pretty long tunic perfect to start the new summer season ...
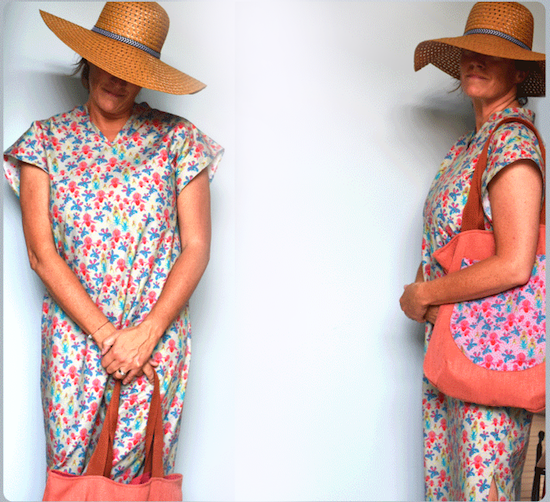

Material
- 1,40m light fabric
I chose a popelin cotton of the exclusive collection By Léa. You can also choose to work with viscose poplin or jersey.
- 26cm bias binding
I made my own bias binding in the same fabric.
- The pattern to download here >
This is a one-size. I have a height of 1.35m and the dress is just above the ankle. It's up to you to adapt according to your measurements ;-)
Step 1 : cut your pieces
Using the pattern, cut 1 X the front 1X the back and 2 X the collar.
Step 2 : prepare the neckline
We will put the bias binding to the neckline like this:


Step 3 : assemble the dress
Place the two sides of the collar right sides together then sew the upper part with a straight stitch. Leave the bottom part open, notch, turn over and iron.
Arrange front and back right sides together and sew at shoulder heights with a straight stitch. Iron and turn over so that the neckline is in front of you.
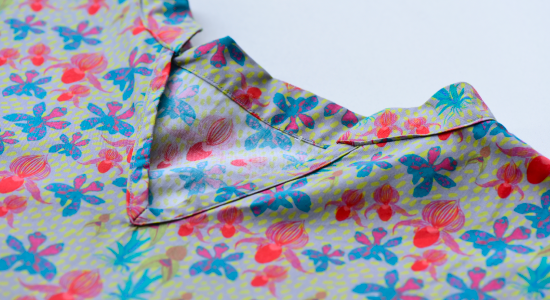
The most delicate part: we are going to place the collar that you prepared in the previous step. Part the top collar and place right sides together on the edge of the neckline. Stitch at 1cm.
Afterwards place your collar at the back by turning it over and making blind stitches by hand to secure it.
Then sew (or overlock) right sides together the front and back as shown in the diagram:

Sew a 5mm seam around the edge of the sleeve. You will now have a very large sleeve.
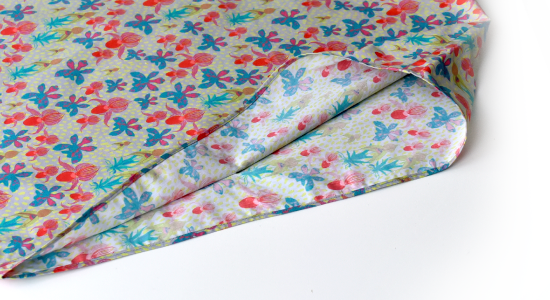
Place your blouse flat and sew a straight line across both sides. Stop your straight line depending on what you want for an arm opening.
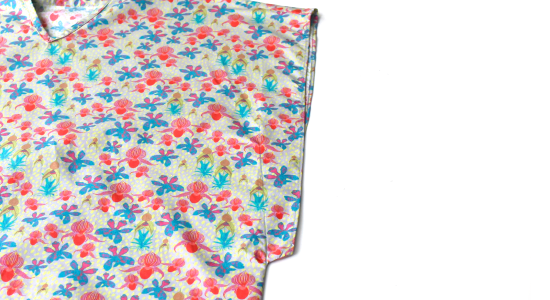
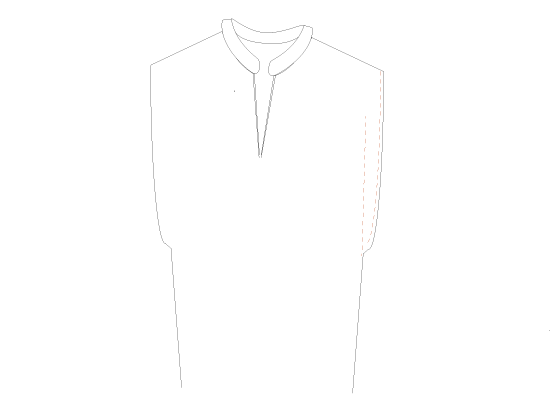
You only have to make a small hem of 5mm on the front and back sides in order to join your right seam of +/- 50cm. Then finish with the bottom hem.
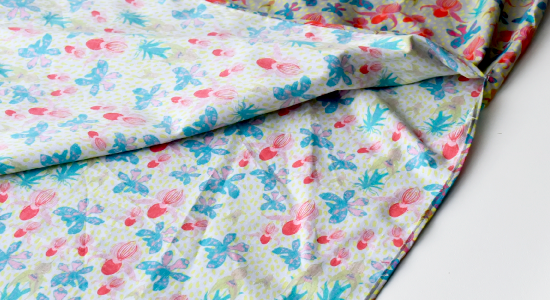
Your beach tunic is ready !

See you soon,
L.


M.T - 06/07/2023 13:09:23
C'est très joli! Et merci pour ce tuto!